You could have the best ad copy and the perfect landing page, but if you’re showing your Google Ads to the wrong people—or in the wrong places—your results will flop. Plain and simple.
Smart targeting isn’t just a feature in Google Ads. It’s the strategy. It decides who sees your ad and whether they actually care.
In this guide, I’ll walk you through exactly how I set up location and audience targeting for my clients. You’ll get clear steps, real examples, and a few “don’t do this” moments I’ve learned the hard way.
What You’ll Learn:
- Why targeting matters more than most marketers think
- How to set the right locations (down to zip codes)
- The difference between audience types (and how I use them)
- When to use exclusions (a.k.a. budget protection)
- Pro tips for local, national, and international targeting
- Internal links for campaign structure, bidding, and keyword research
1. Why Targeting Is Half the Game
Let’s be real: even the best Google Ads campaign will burn money if it’s showing to the wrong crowd.
Targeting helps you:
- Control who sees your ads
- Maximize budget efficiency
- Align ad messaging with user context
- Improve conversion rates (and sanity)
If you’ve ever run an ad and thought, “Why are we getting traffic from places we don’t serve?”—you’re in the right place.
2. Setting Up Location Targeting (Step-by-Step)
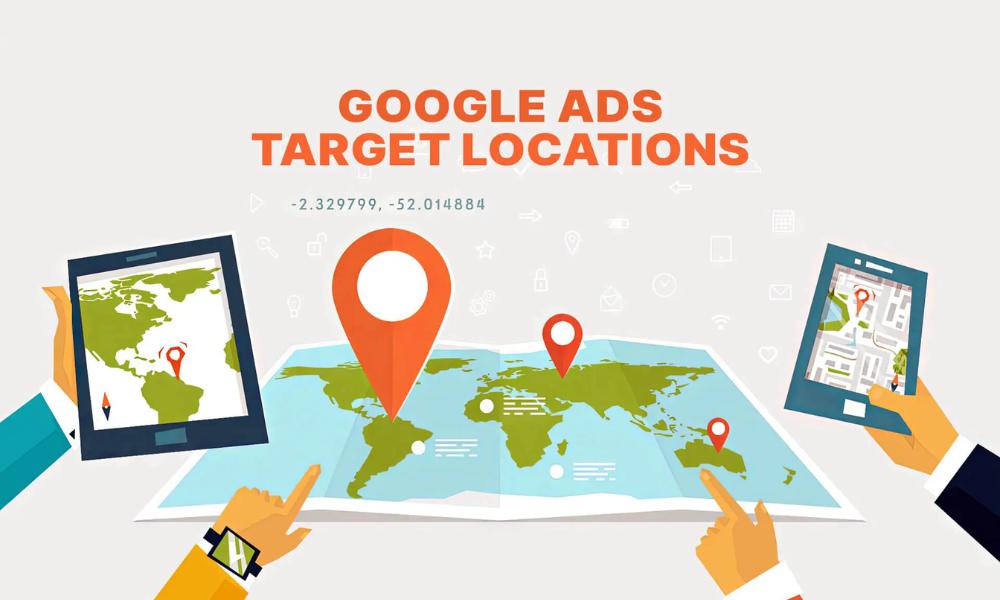
Location targeting lets you choose where your ads show. You can go broad (countries) or narrow (city blocks, ZIP codes, radius targeting).
Here’s how I set it up:
Step 1: Go to Your Campaign Settings
In Google Ads, select the campaign you want to edit. Go to Settings > Locations.
Step 2: Choose Your Areas
Options include:
- Entire countries or states
- Cities
- ZIP/postal codes
- Radius around a specific location (great for brick-and-mortar)
For local businesses, radius targeting around a storefront or office often works best.
Step 3: Choose Your Location Options (Important!)
Click “Location options (advanced)” and select:
- Presence – people in your targeted locations (recommended)
- Avoid “Presence or interest” unless you want tourists or remote browsers
This little checkbox has saved many of my clients from wasting budget on irrelevant impressions.
Need help structuring your campaign with location in mind? Check this setup guide.
3. Use Location Exclusions (Budget Protection 101)
You can also exclude locations. And yes—you should.
Let’s say you serve all of California… except San Francisco. Add SF as an exclusion. Otherwise, you’ll get clicks you can’t convert.
Use exclusions when:
- Certain areas are unprofitable
- You’re avoiding competitor regions
- You’re running localized offers (e.g., “Free Shipping in Texas”)
A well-placed exclusion saves budget and improves lead quality.
4. Set Up Audience Targeting (Even If You’re New)
Now let’s talk who, not just where.
Audience targeting helps you reach users based on interests, behaviors, or how they’ve interacted with your brand.
You can layer audiences onto Search campaigns, or target them directly with Display, Video, and Performance Max.
Types of audiences you can use:
| Audience Type | What It Does |
| Affinity | Based on lifestyle/interests (e.g., “Pet Lovers”) |
| In-Market | People actively researching products/services |
| Custom Segments | Create your own based on keywords, URLs, or apps |
| Remarketing | Re-engage past site visitors or converters |
| Customer Match | Upload email lists to target users you already know |
If you’re just getting started, in-market and remarketing audiences give the best results early on.
Want to set up your remarketing audiences? Check out the conversion tracking guide first.
5. Add Audiences in “Observation” Mode First
Pro tip: when adding audiences to Search campaigns, start in Observation mode.
Why?
- You’ll see how each audience performs without restricting traffic
- You can later bid more aggressively on high-performing segments
Once you find your top-performing audience, switch to Targeting mode to laser-focus your budget.
6. Combine Audience + Location Targeting for Precision
This is where things get fun.
Let’s say:
- You’re a home renovation contractor
- Serving only Chicago and suburbs
- Targeting homeowners aged 30–55
You can:
- Target a 30-mile radius around Chicago
- Add in-market audiences like “Home Renovation” and “DIY Enthusiasts”
- Exclude renters or irrelevant regions
It’s like digital door-knocking—without annoying anyone.
Need to align all of this with your ad groups and budget? Here’s how to structure your campaigns smartly.
7. Segment Campaigns by Location (Optional but Powerful)
Instead of running one campaign for “United States,” I often split campaigns by region or city.
Why?
- Customize ad copy (e.g., “Dallas Roof Repairs”)
- Set different budgets by area
- Compare performance easily
This approach works well when:
- Your services vary by location
- Conversion rates differ by region
- You’re testing multiple markets
More advanced, yes—but worth it if you’re scaling.
8. Avoid These Targeting Mistakes
Let’s not make Google Ads harder than it needs to be. Here are mistakes I still see too often:
Targeting interest instead of presence
Always choose “People in your location,” not “interested in.”
Forgetting exclusions
If you can’t serve a region, exclude it. Simple.
No audience layering
Even for Search, audiences give you better data and smarter bidding.
One-size-fits-all geo campaigns
Houston and Portland don’t convert the same. Customize when it counts.
Good Targeting Saves You Thousands
Smart targeting isn’t just about reducing waste—it’s about getting in front of the right people, at the right time, in the right place.
Whether you’re going hyper-local with a radius campaign or national with layered audiences, this setup is where your ROI really begins.
Getting ready to launch a campaign? Make sure your keywords are solid too—this guide covers the profitable ones.
Need help tuning your budget and bidding to match your targeting? Start here.